My Gunpla: Tokimaru Zero 3


20150403_214419

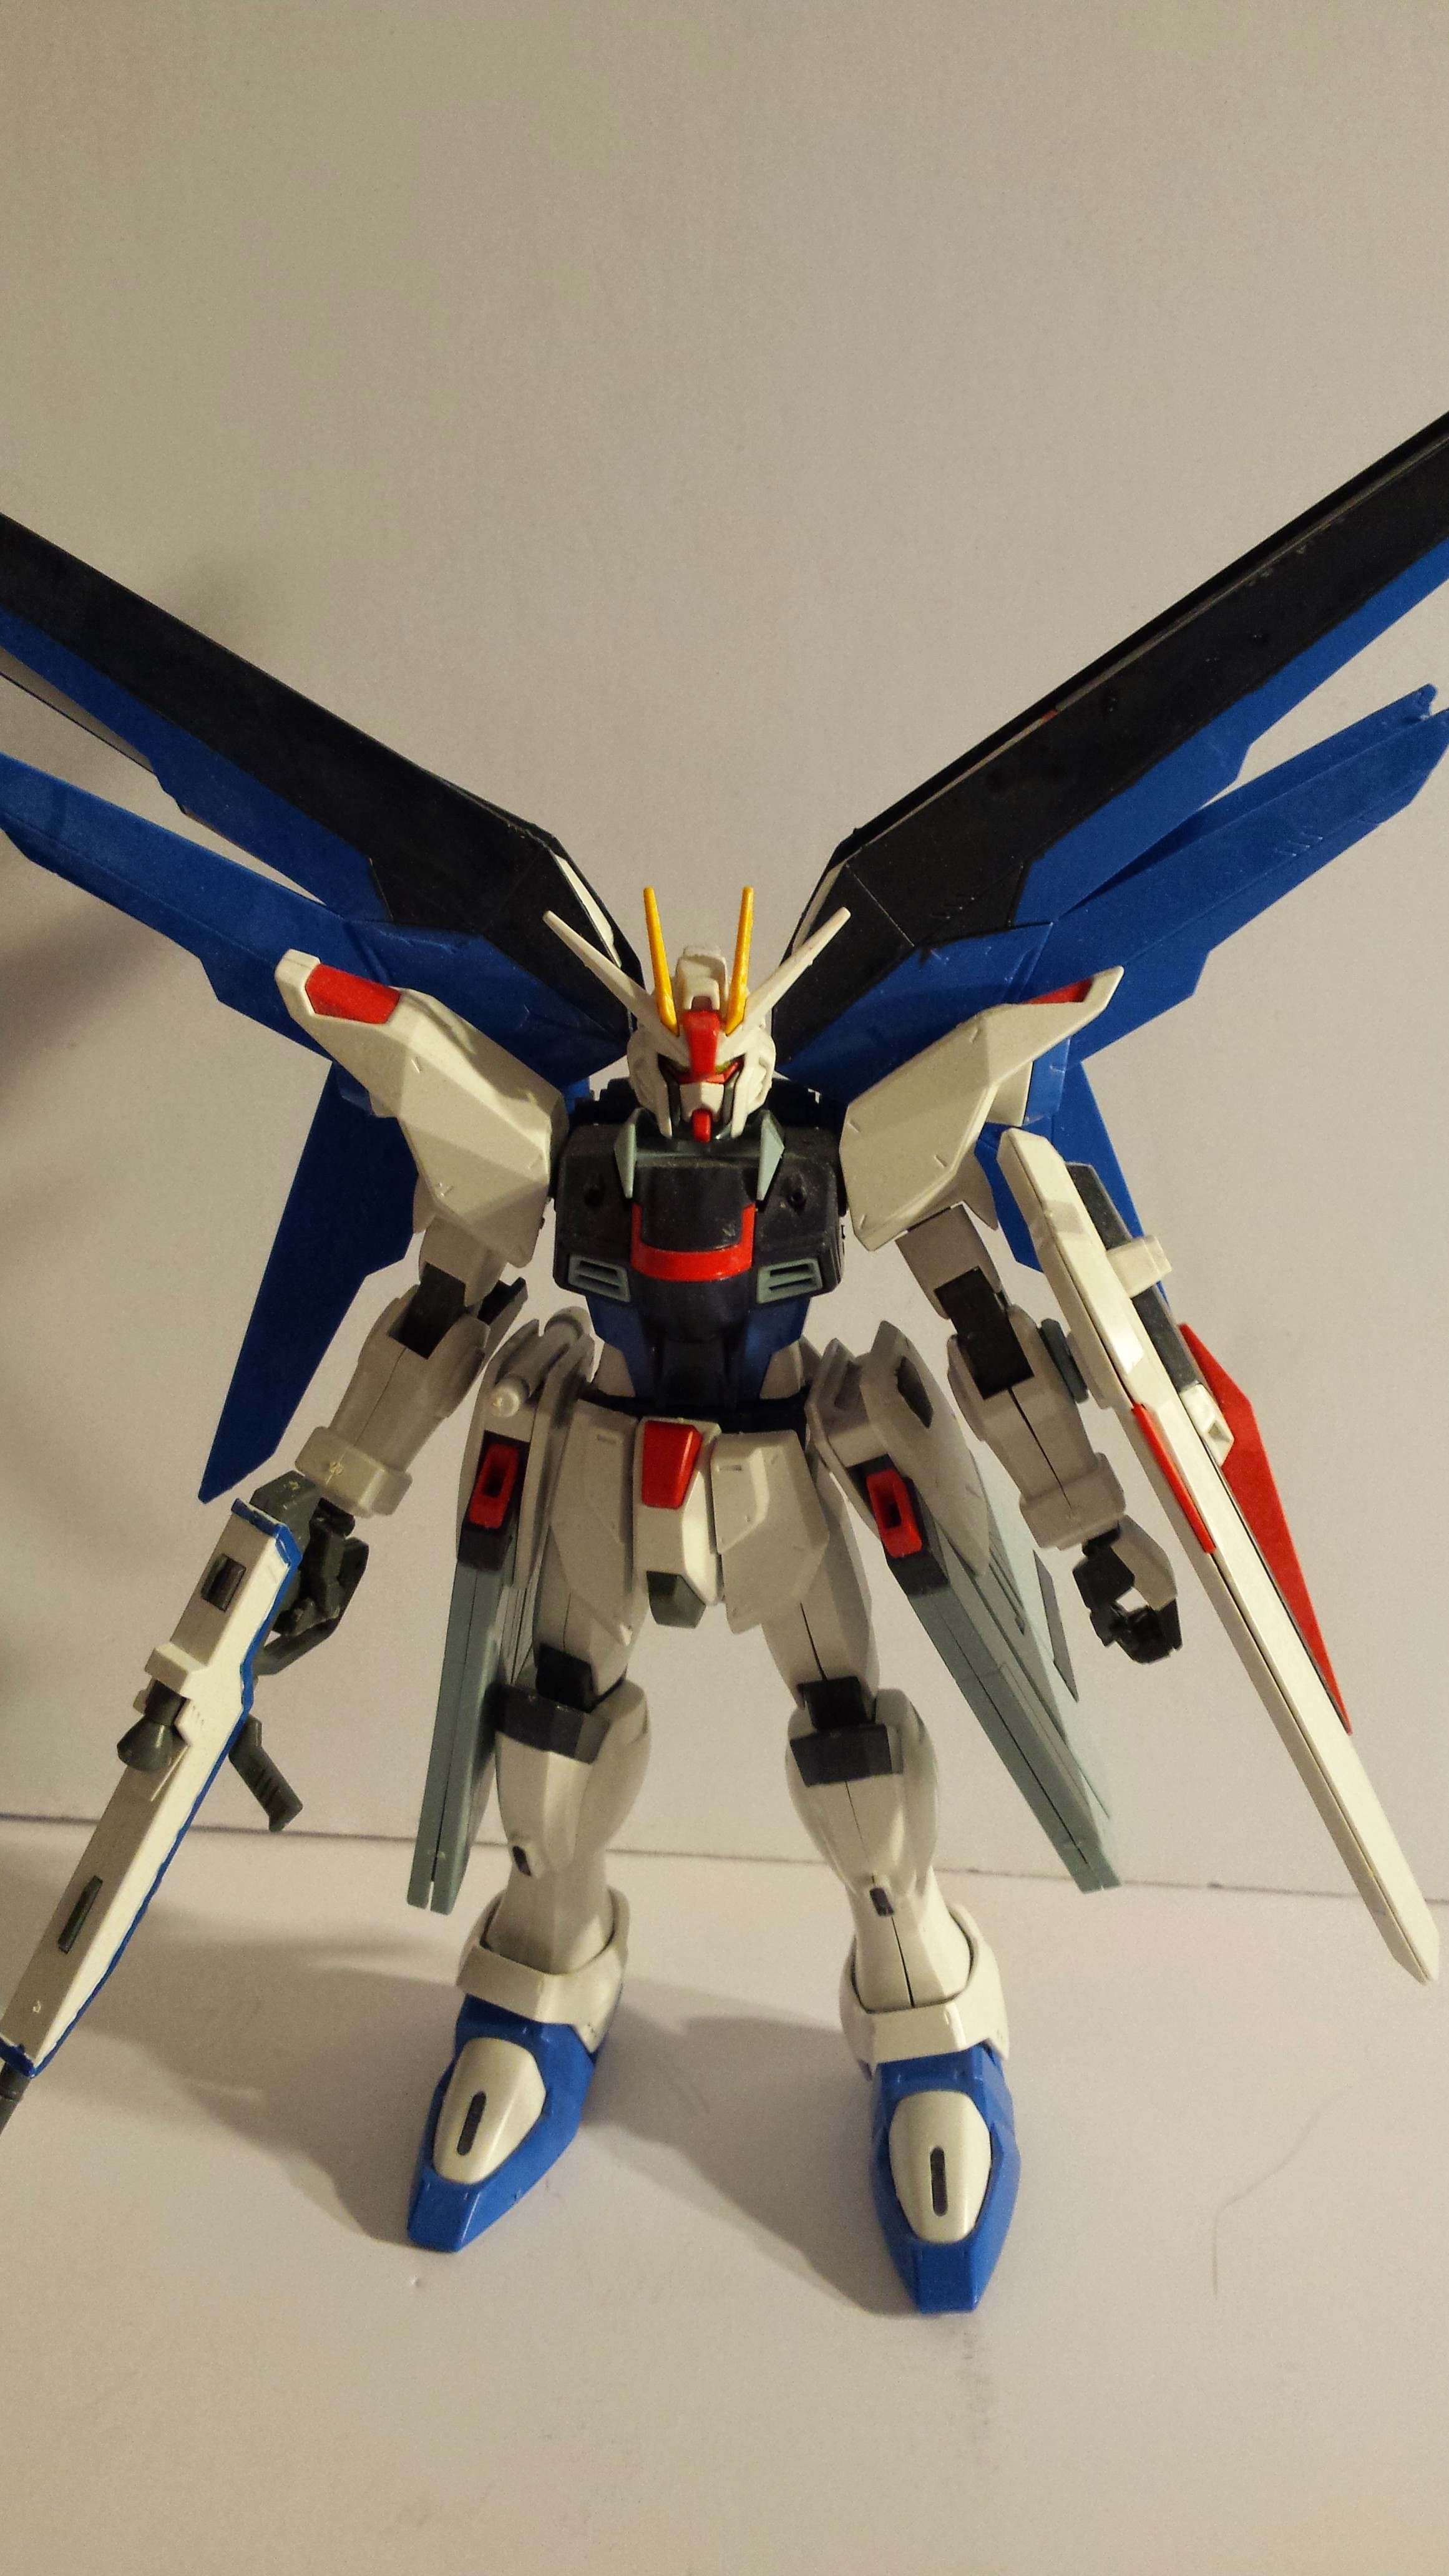
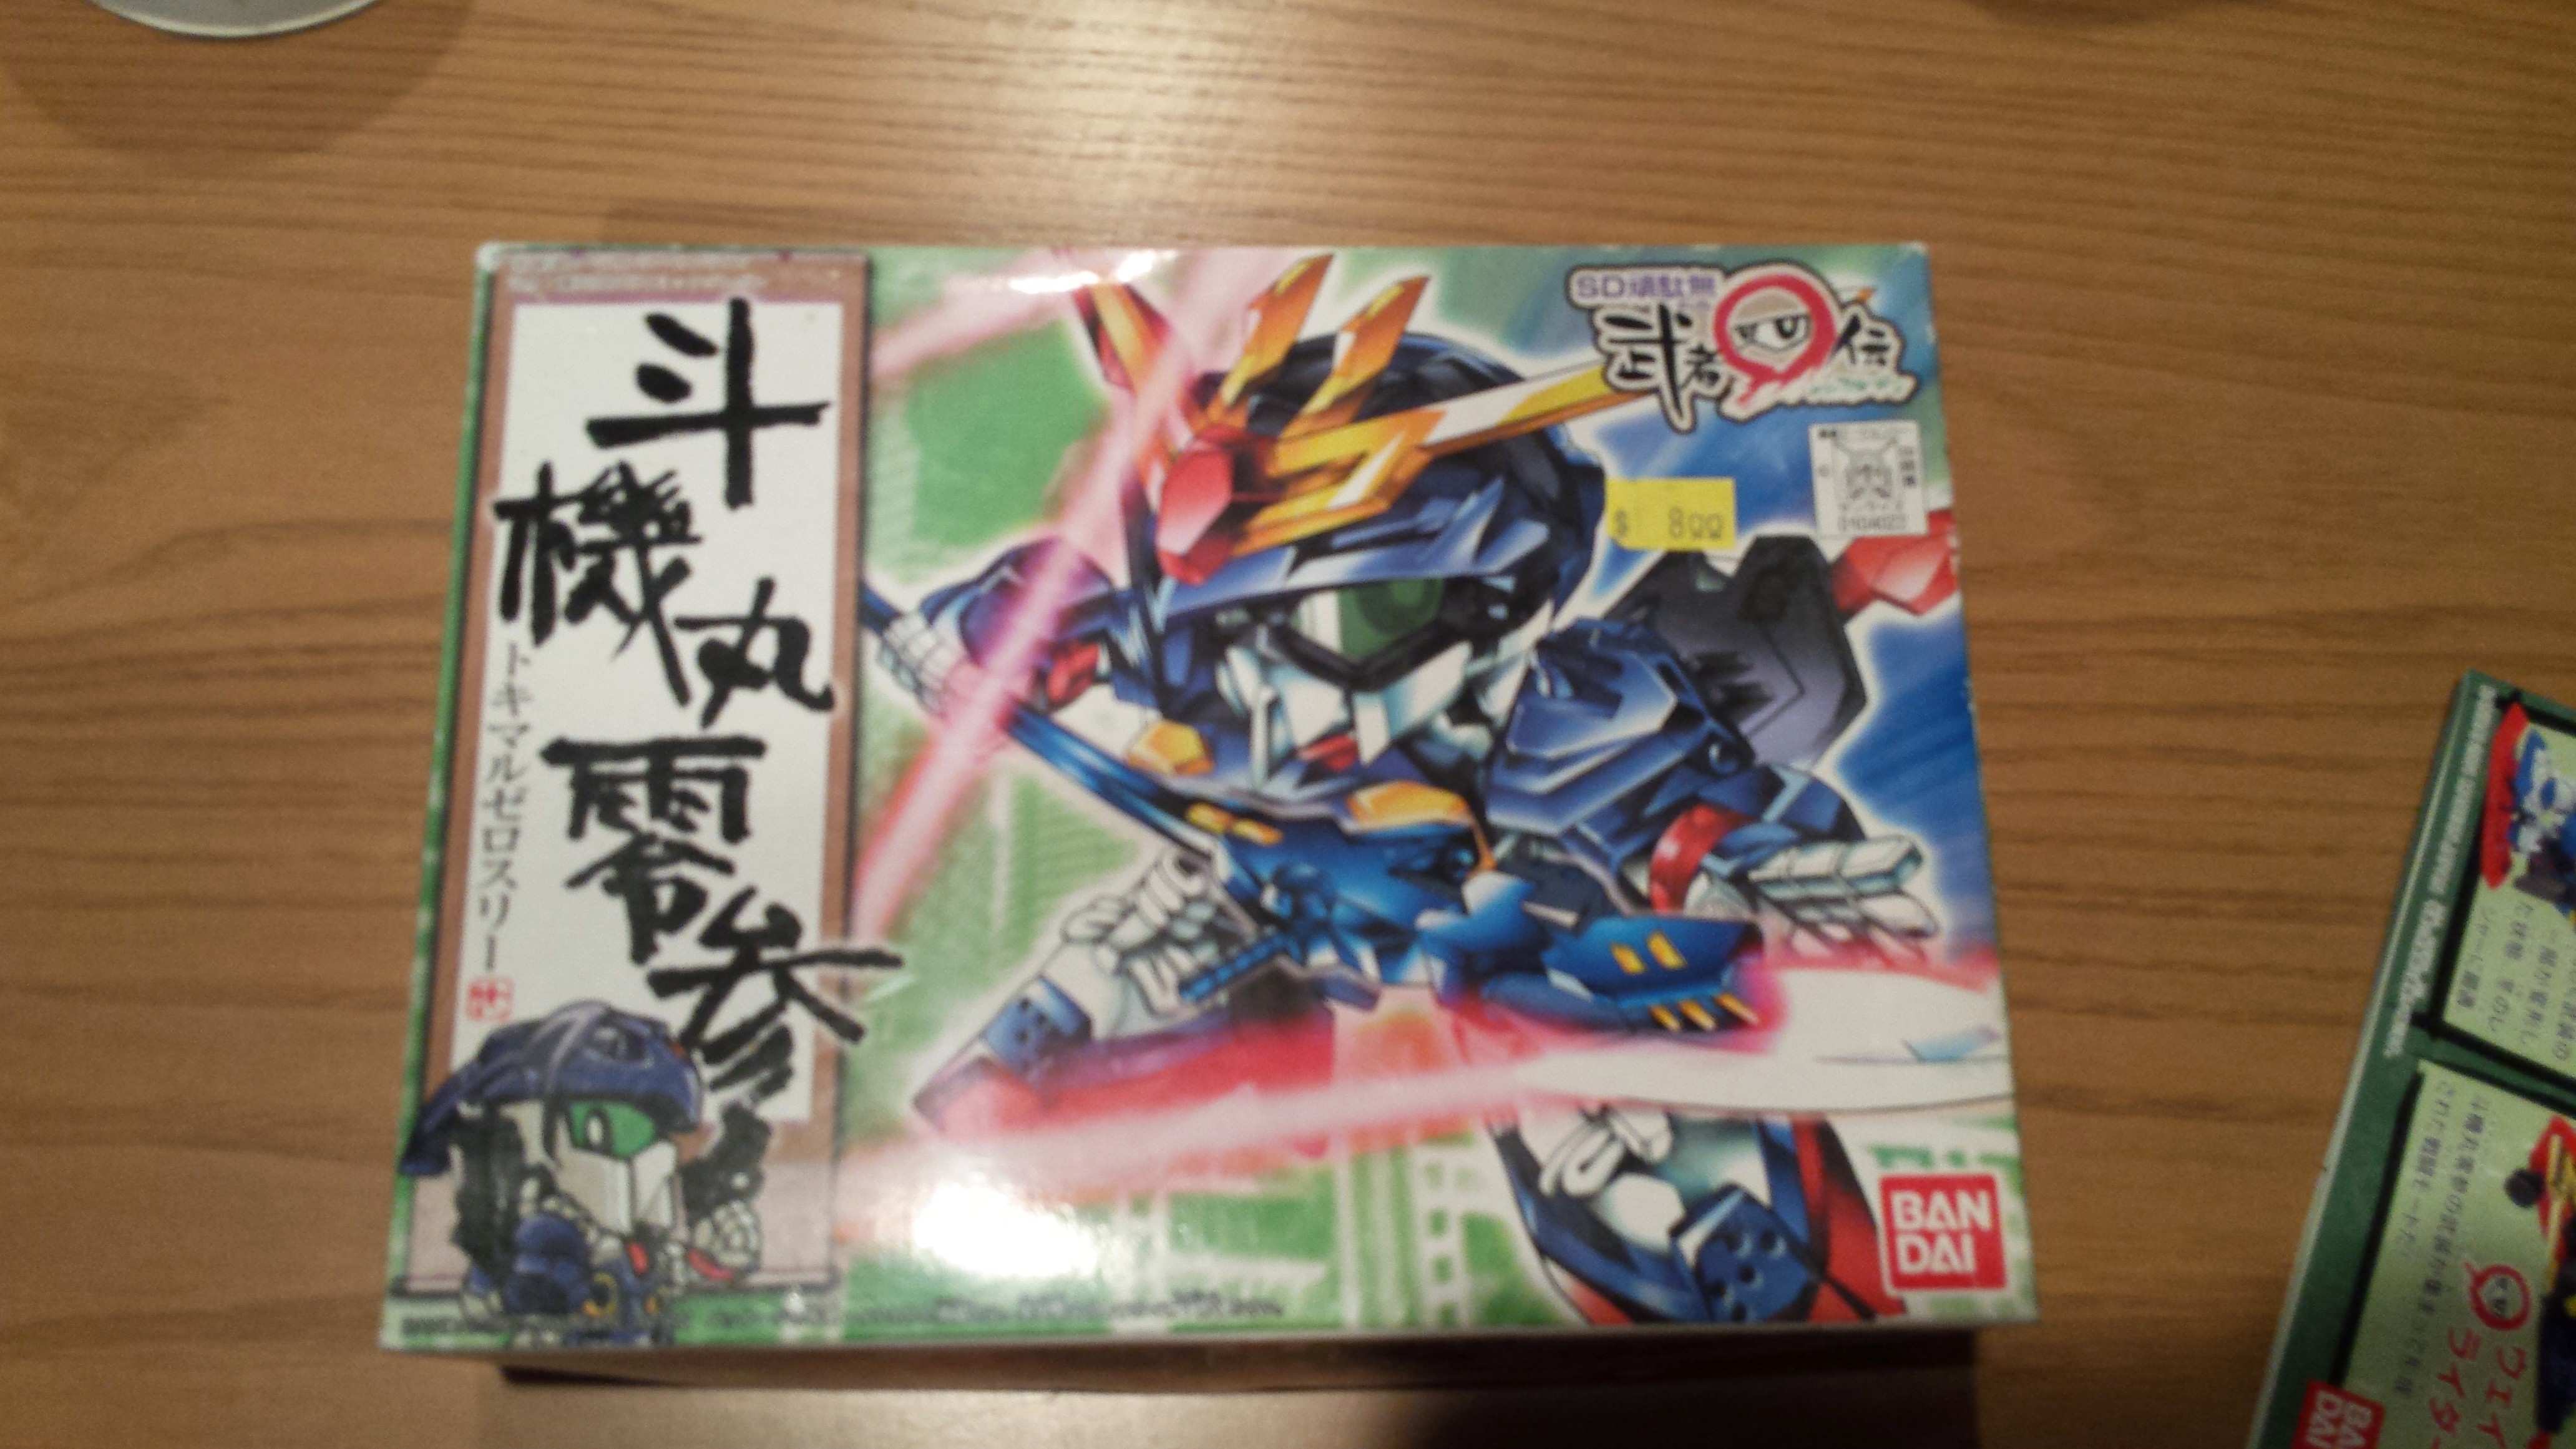
Today’s Gunpla sat in a “To sell on Ebay” pile for the longest time. Then I got back into the swing of things thanks to Build Fighter and decided to build it. This is a long forgotten little Super Deformed by the name of Tokimaru Zero 3, who bares a striking resemblance to the Zeta Gundam. Let’s get started shall we.
20150403_141059 20150403_141116 20150403_214406
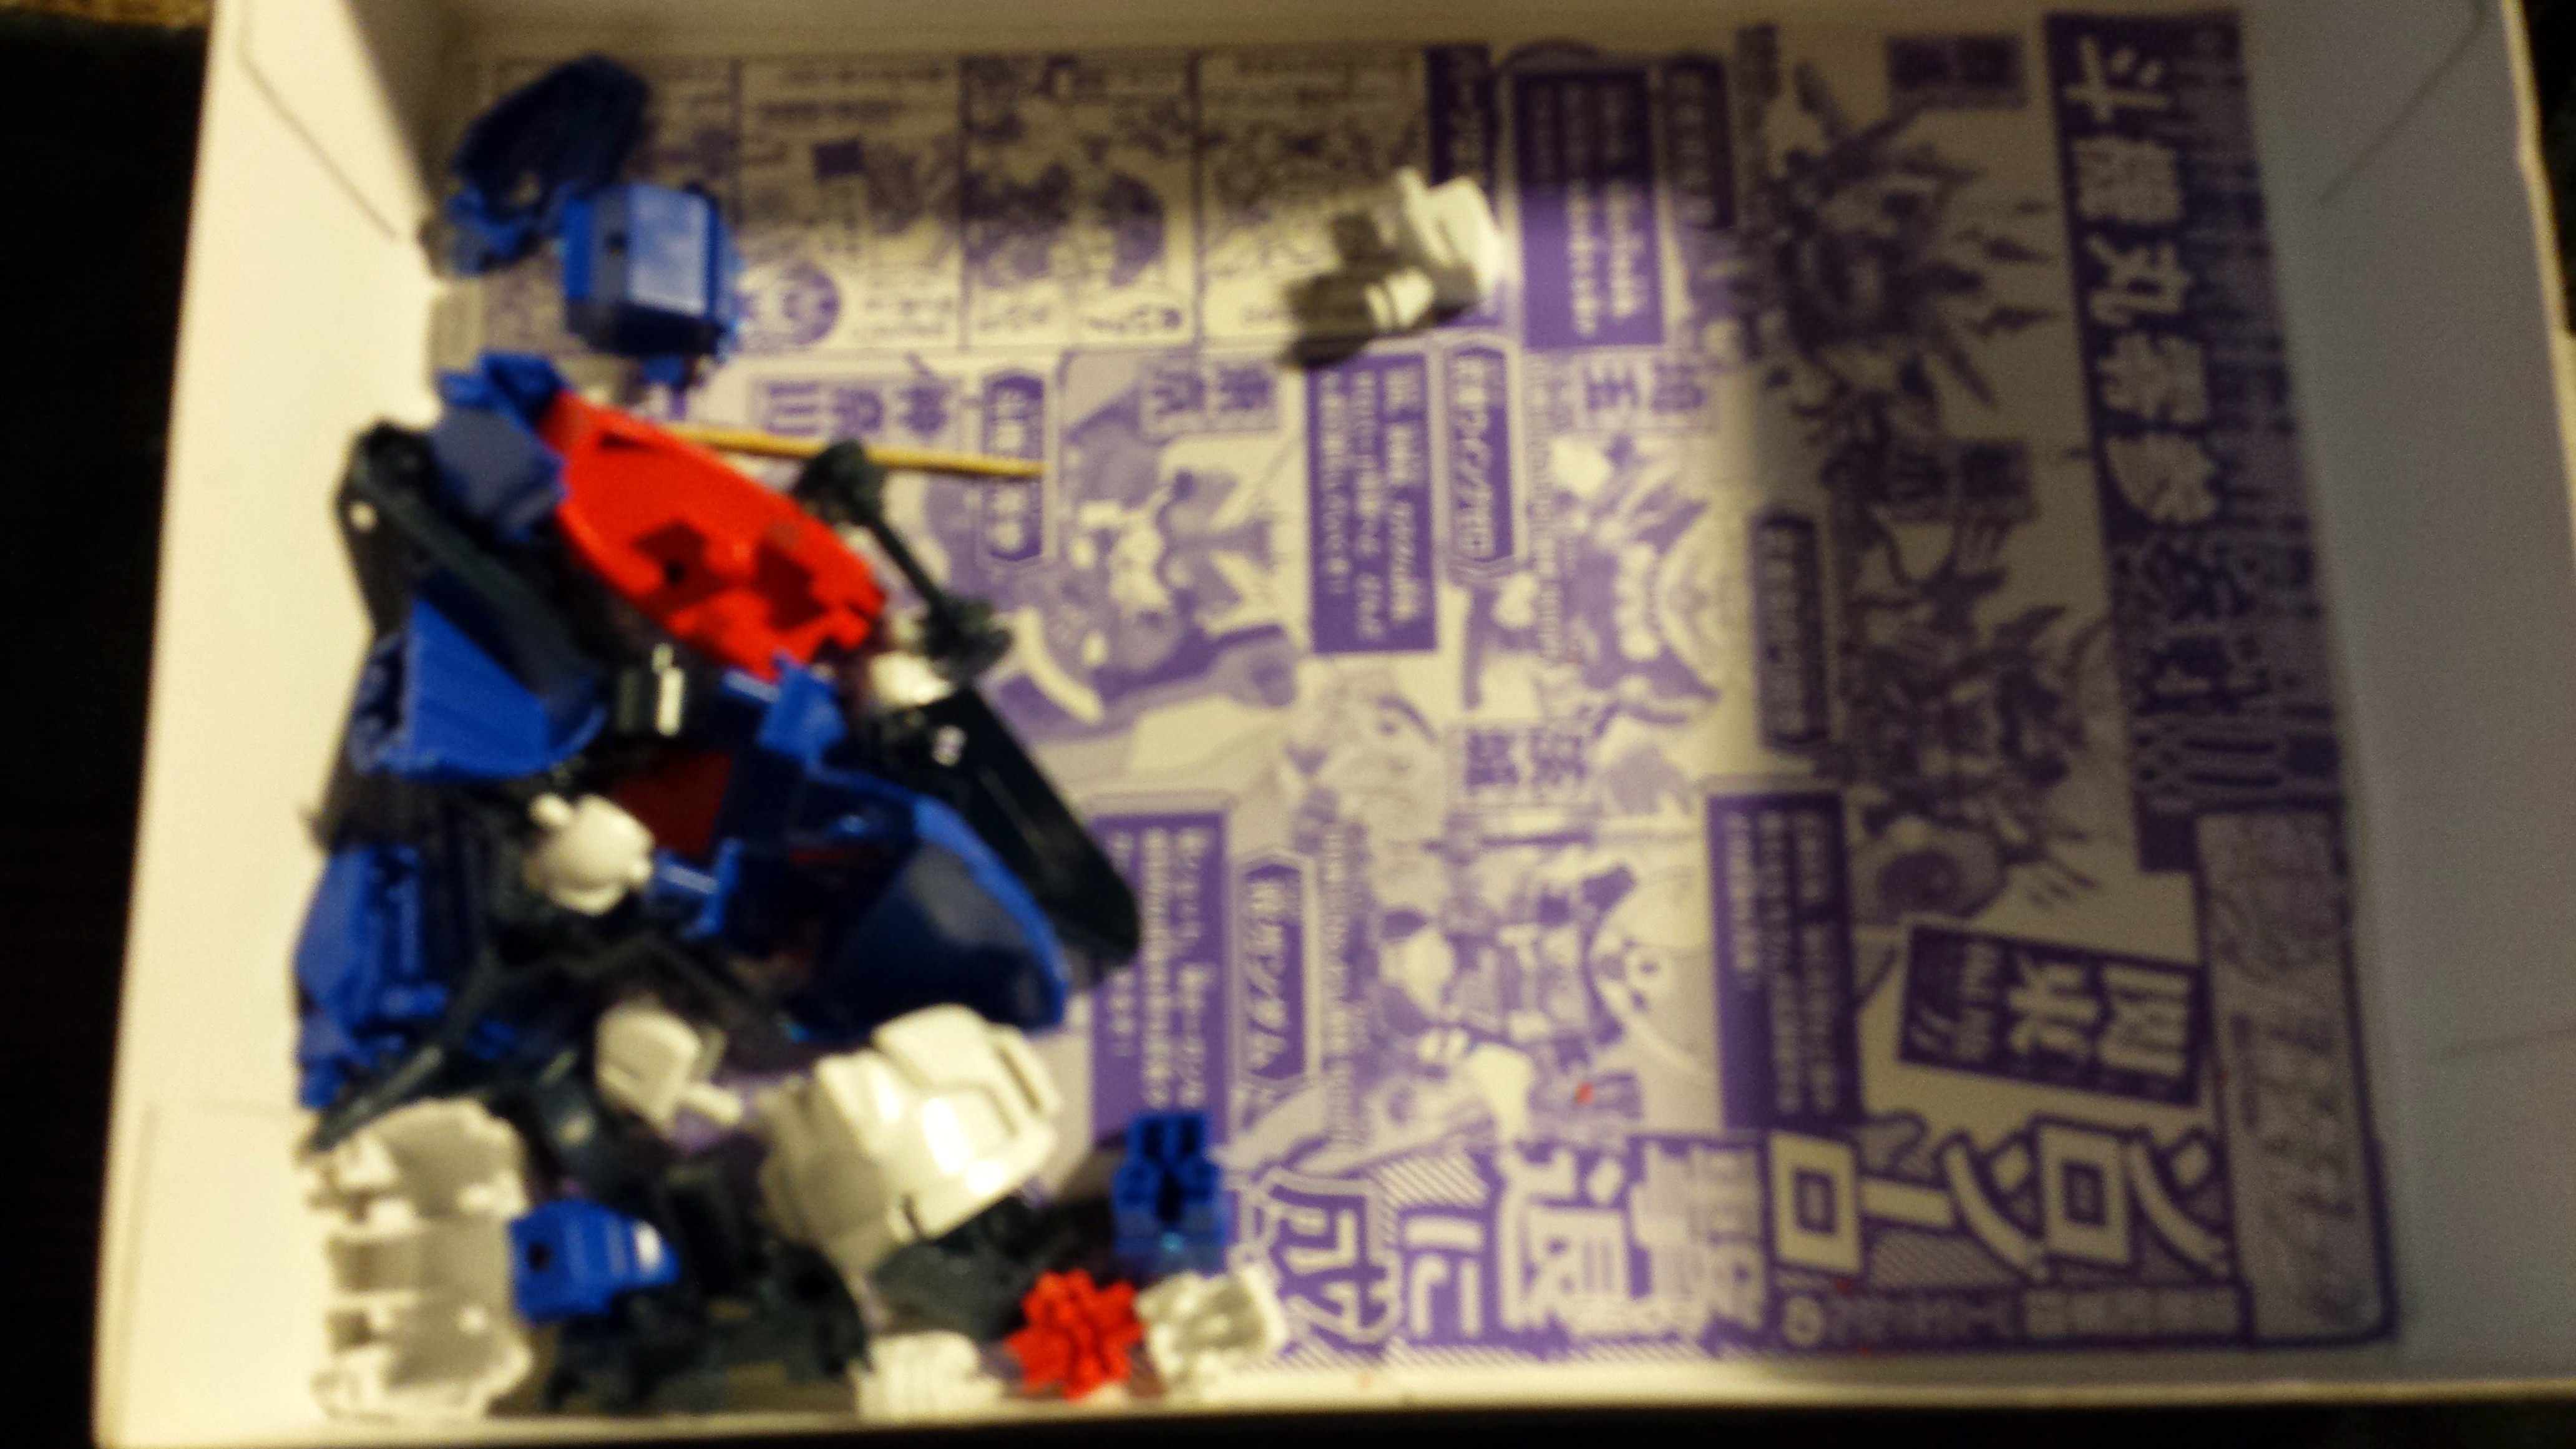
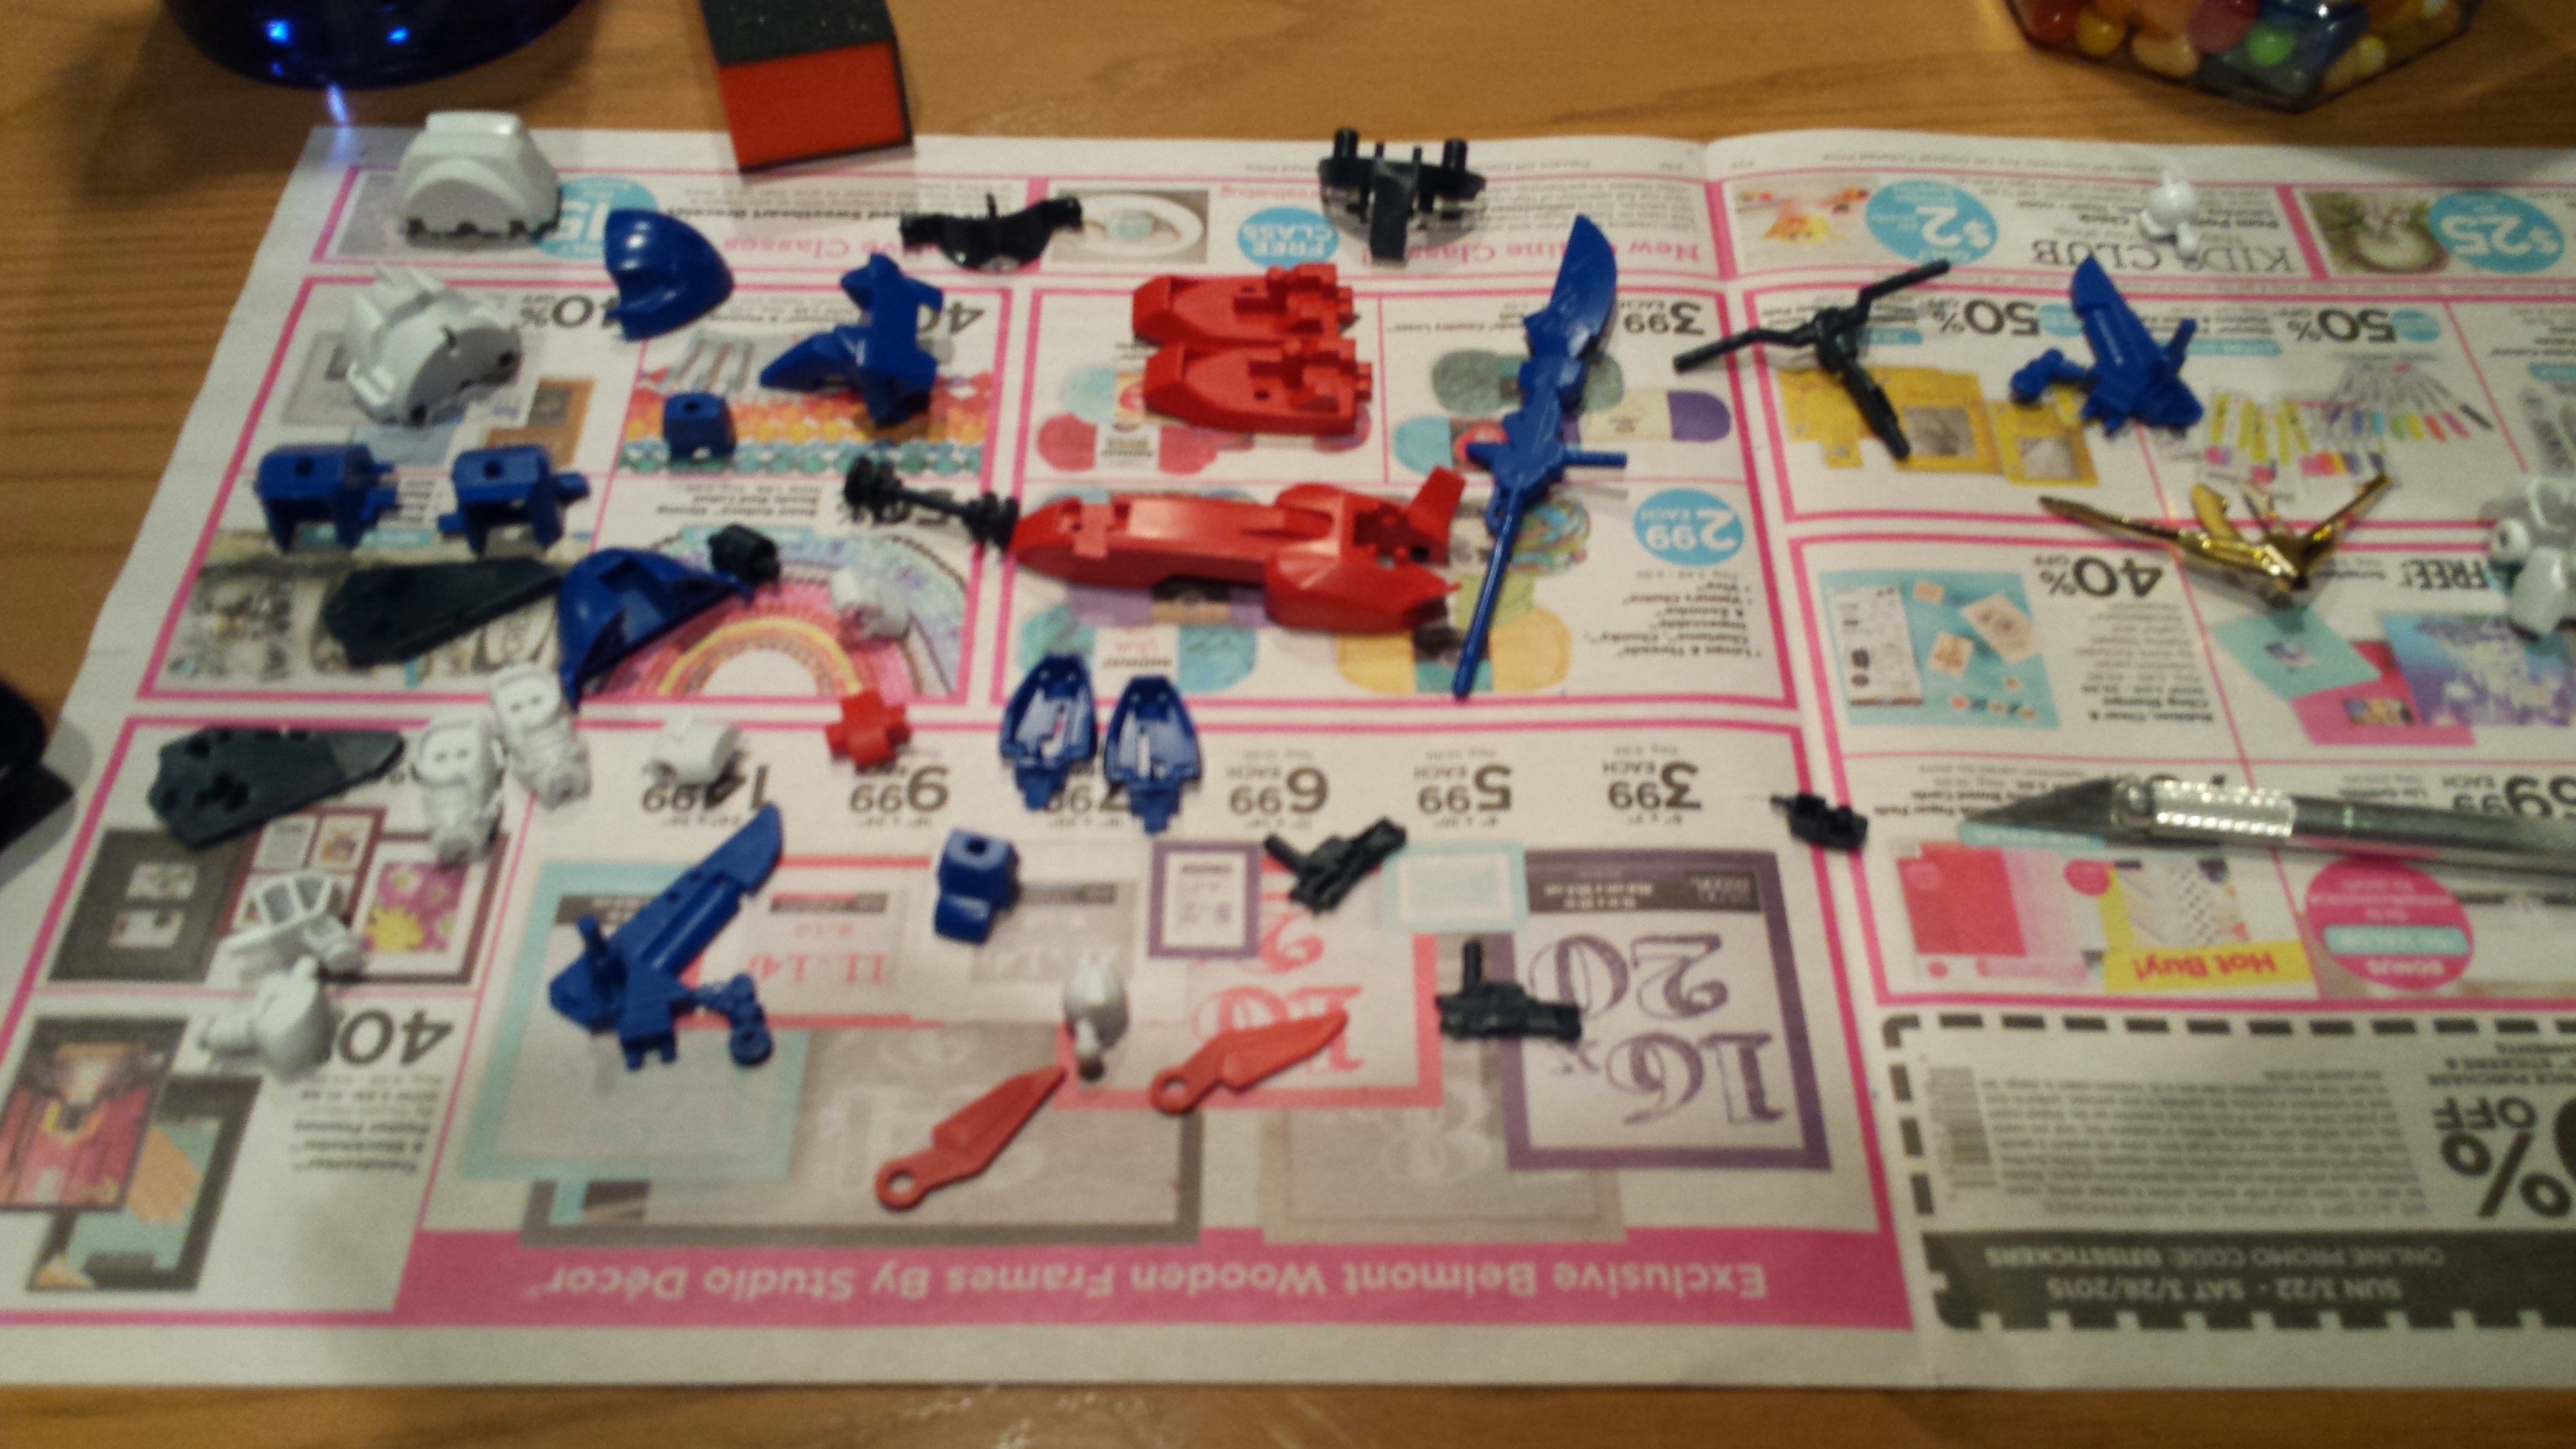
I started by using a pair of nippers to cut the piece from the runner. After all pieces were cut from the runner, I slowly assembled them a piece at time using a combination of a nail file and Exacto Knife to clean the burs off.

Originally once the parts were clean, I applied the decals to it and found that I still have difficulty with the stickers. My wife pointed out that special tweezers are usually used to help make sure that the decals come off cleaning and are applied to the model without the glue losing strength or having to peal them off and reapply. I’ll work on obtaining a pair before my next build. I was originally gonna stop it there but decided to make a major change. 
20150405_203329 20150406_203454
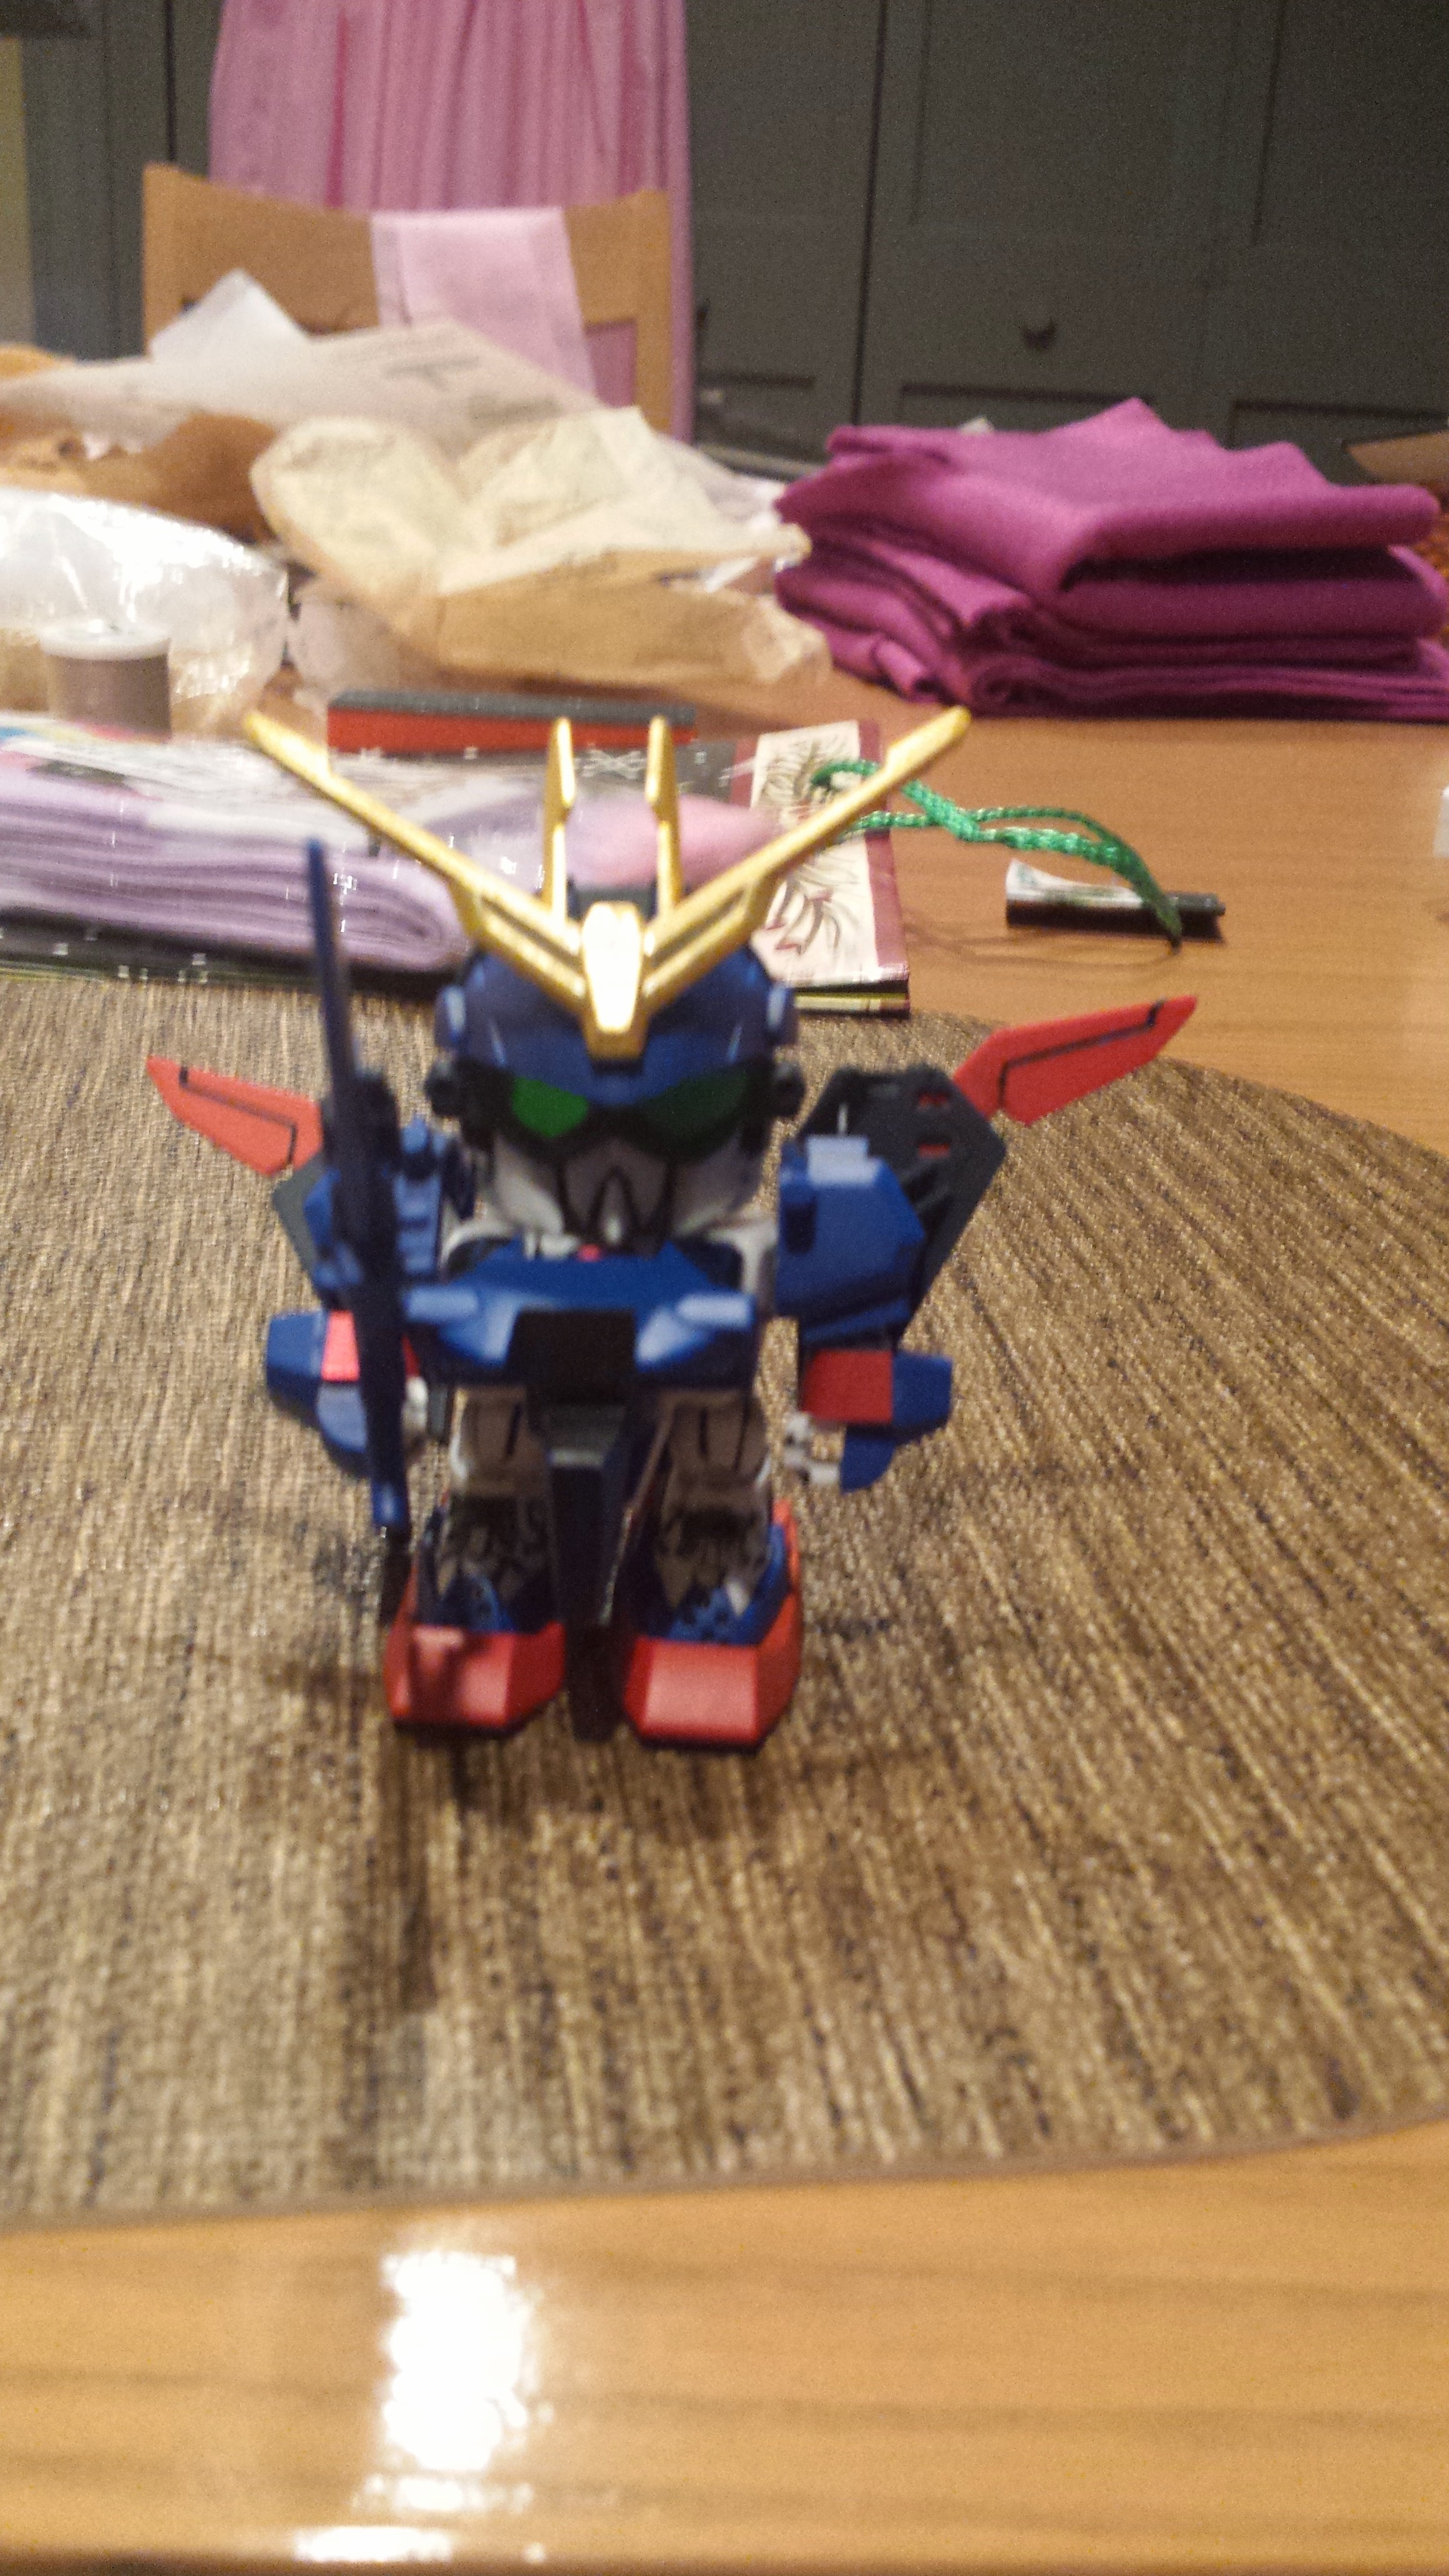
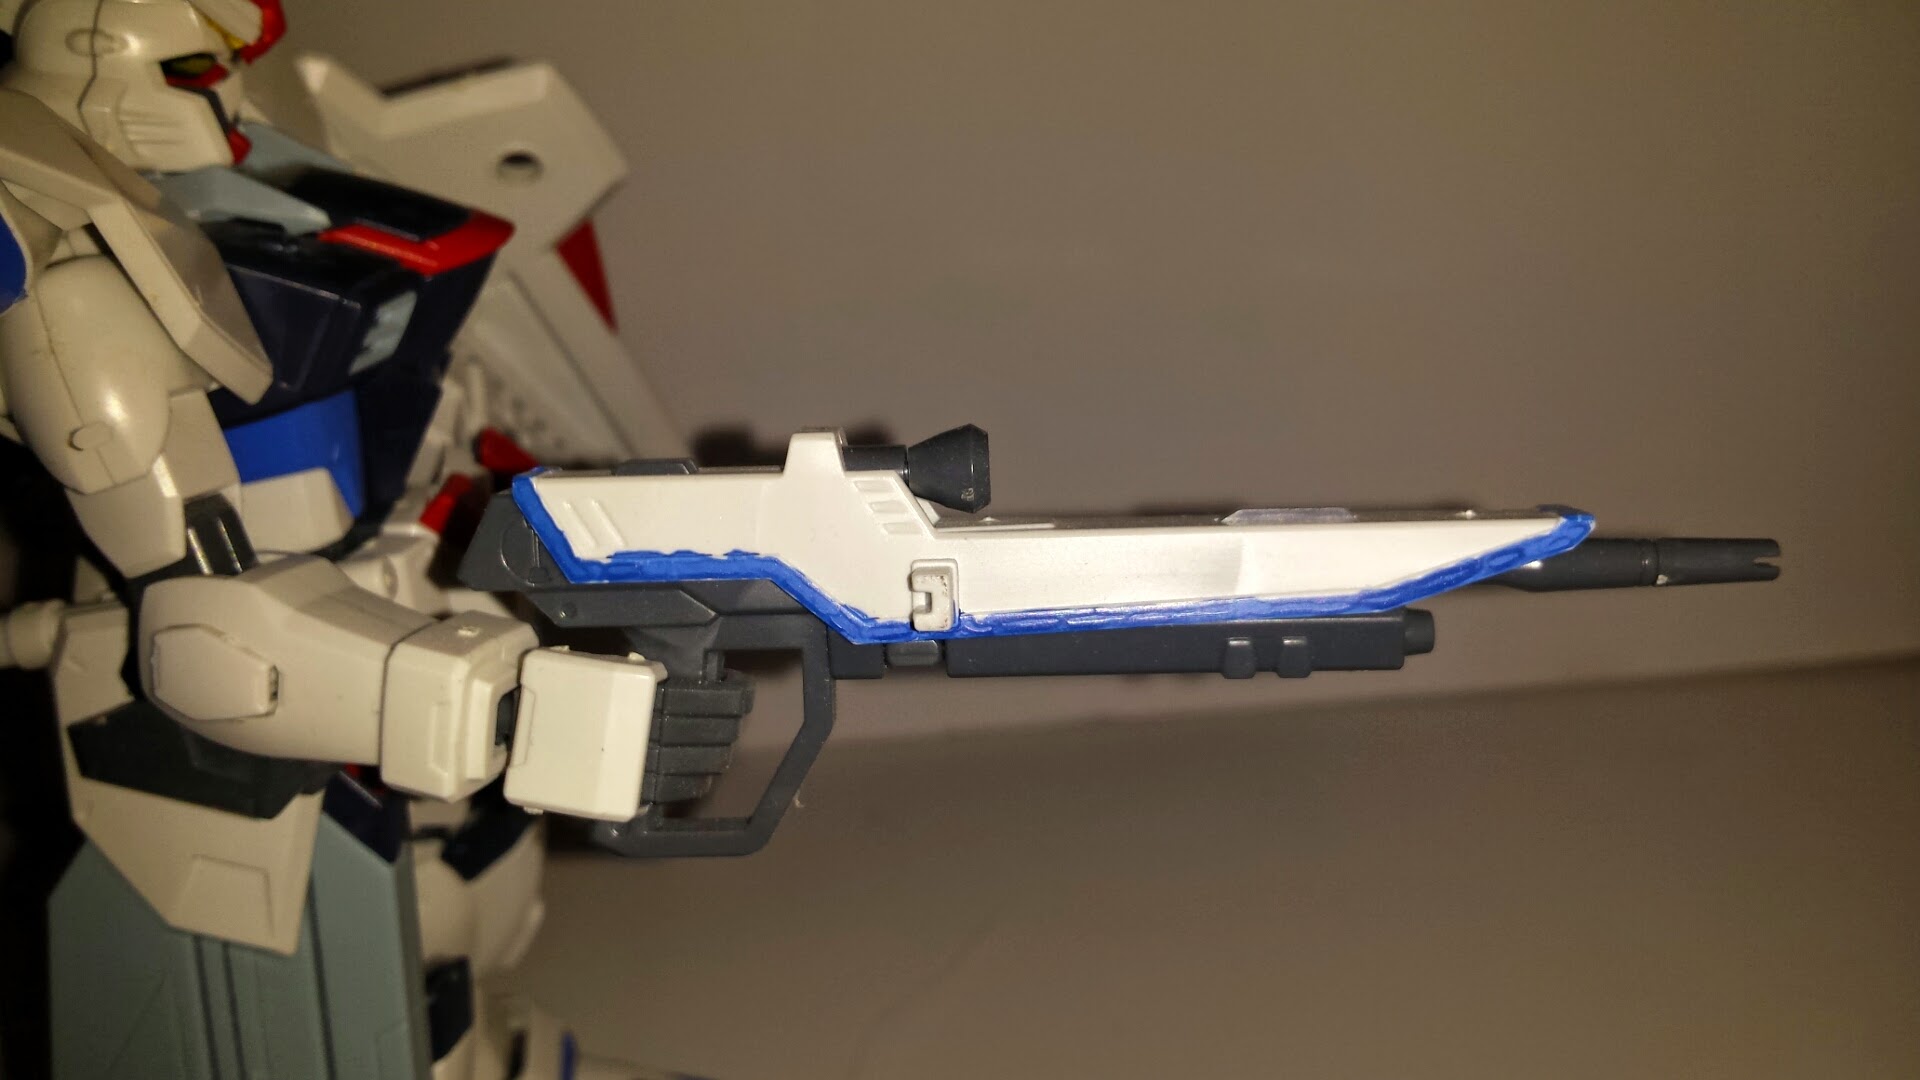
I experimented with a fine tip marker as I found it helps to accentuate the details of the model. Unfortunately, despite the fact that it SAID that it was a fine tip marker it was far too big for some of the lines that I wanted to make and resulted in some smudging here and there on the model. When this was dry I decided to cover it with a matte coating and call it done.
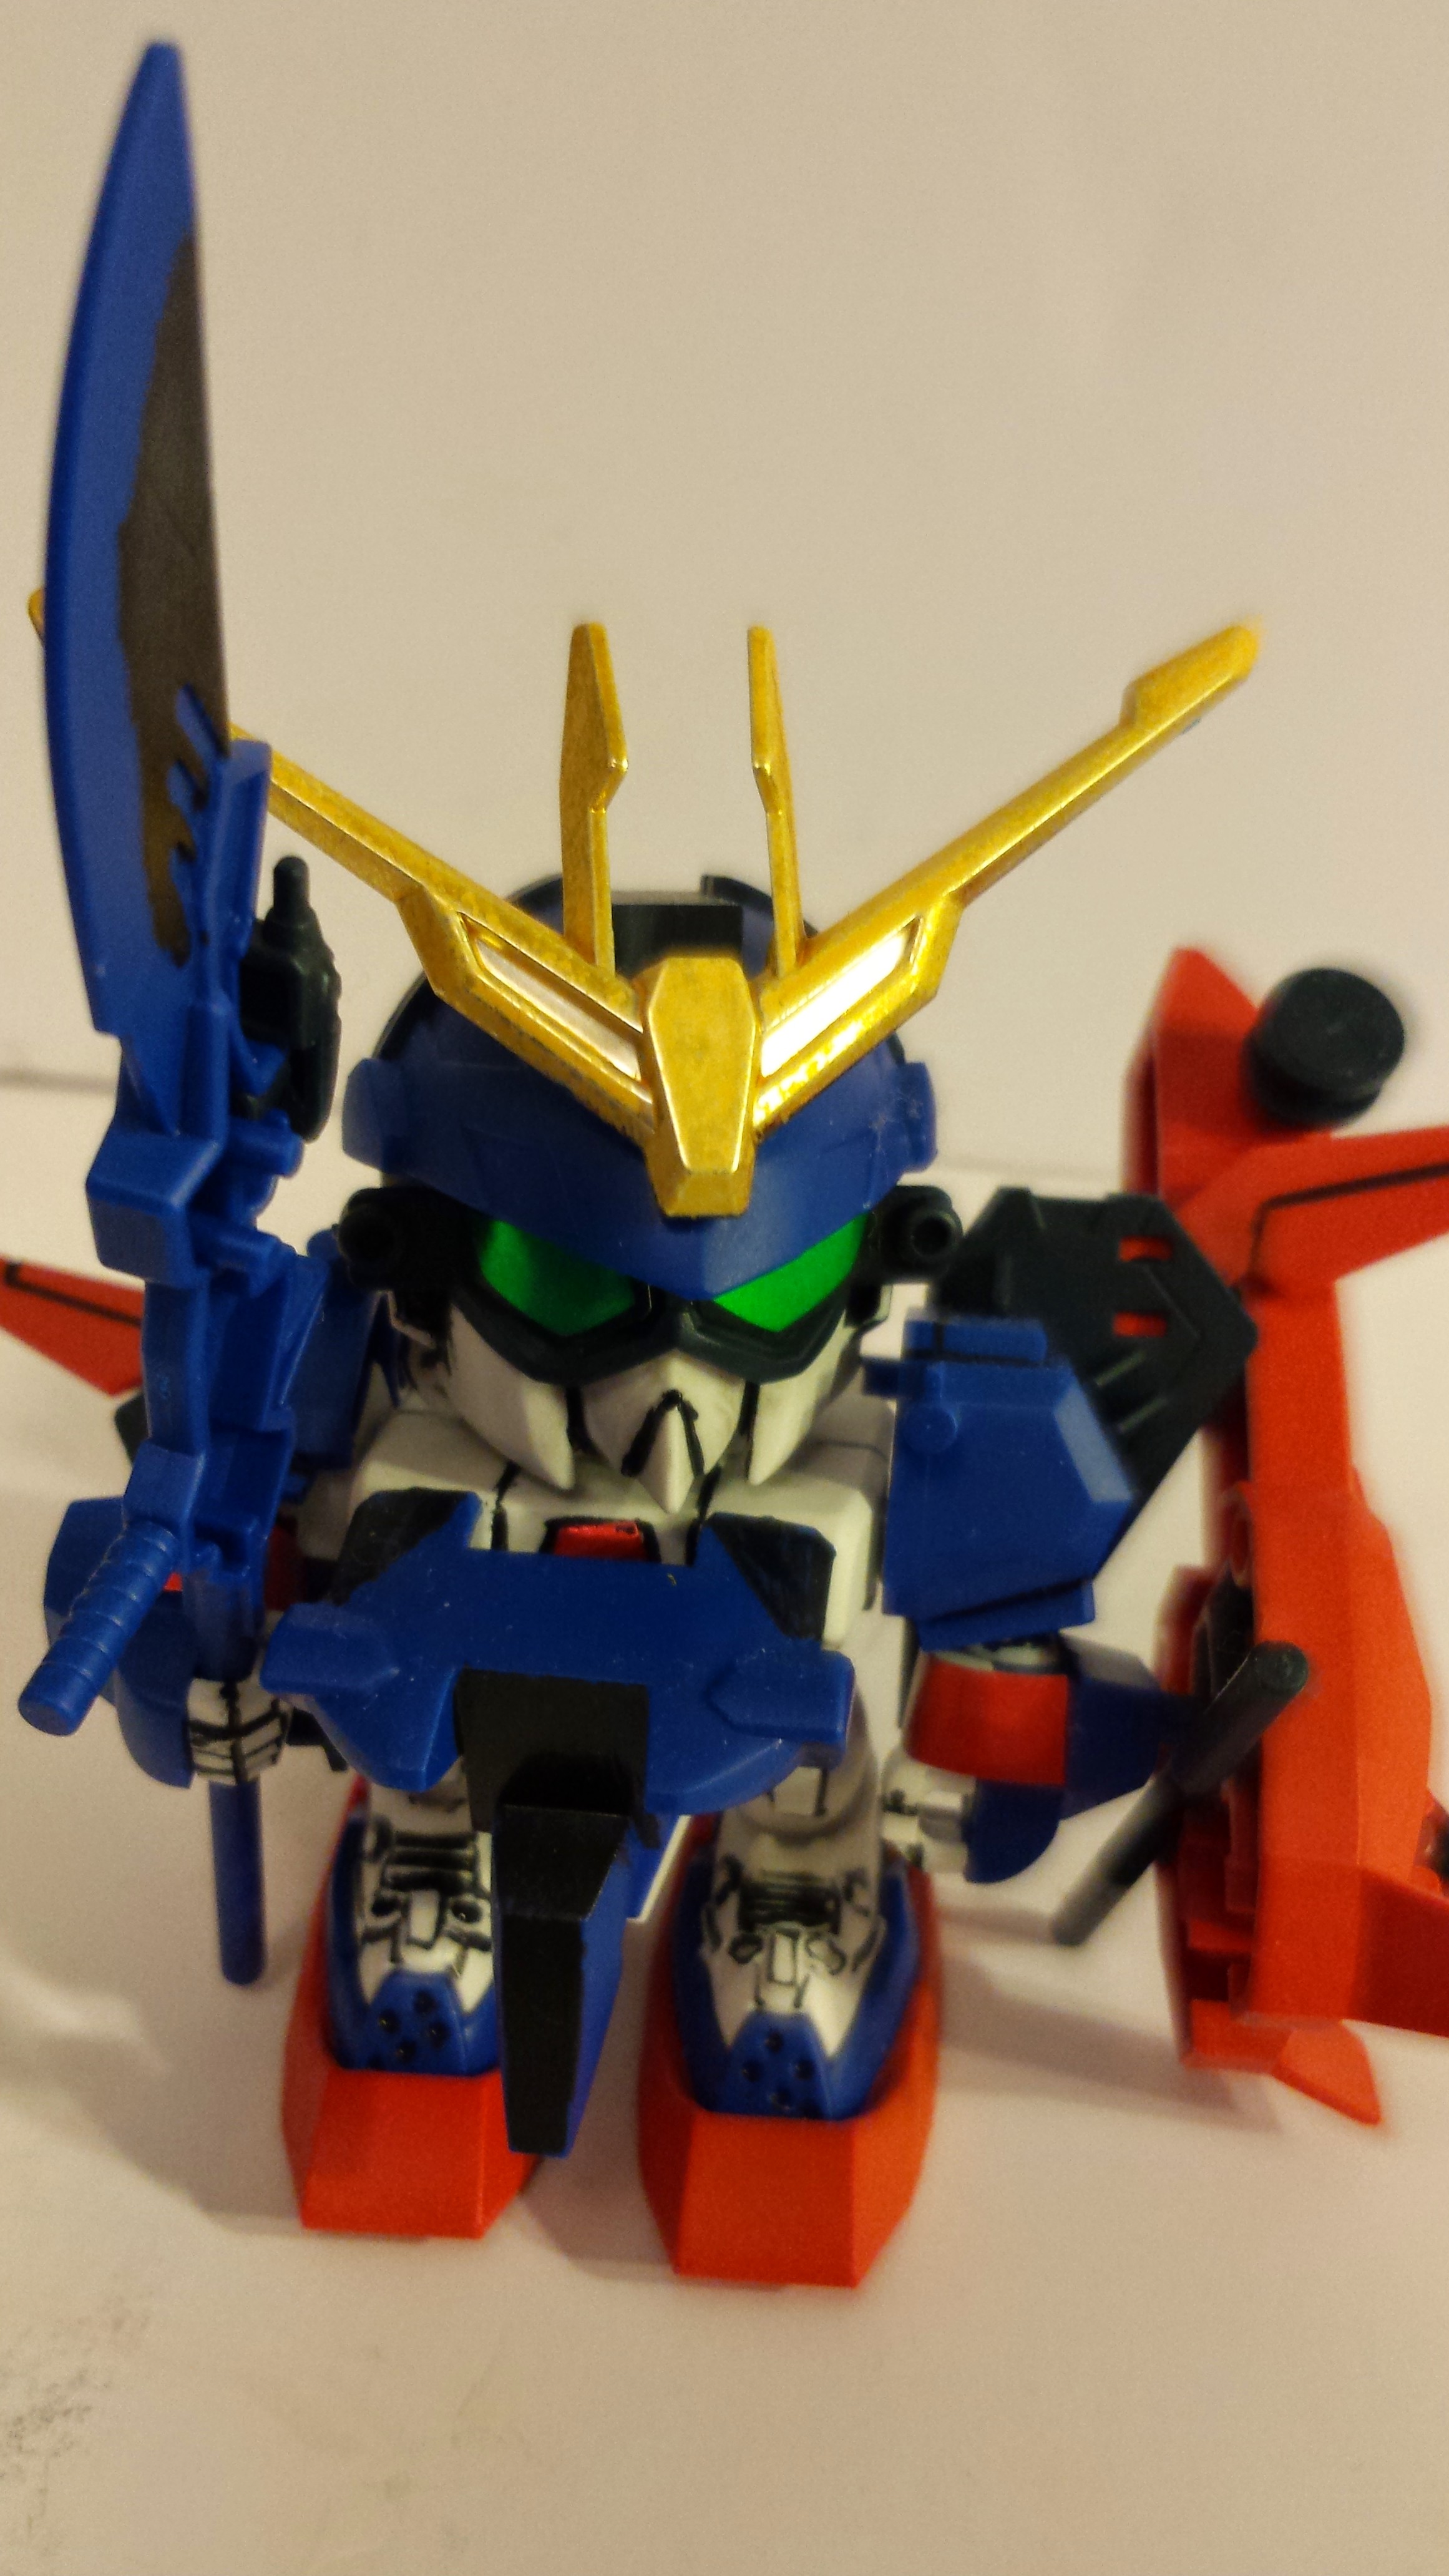
 20150508_22475820150508_225144

RESULTS: 

Its okay but I did learn a few things.

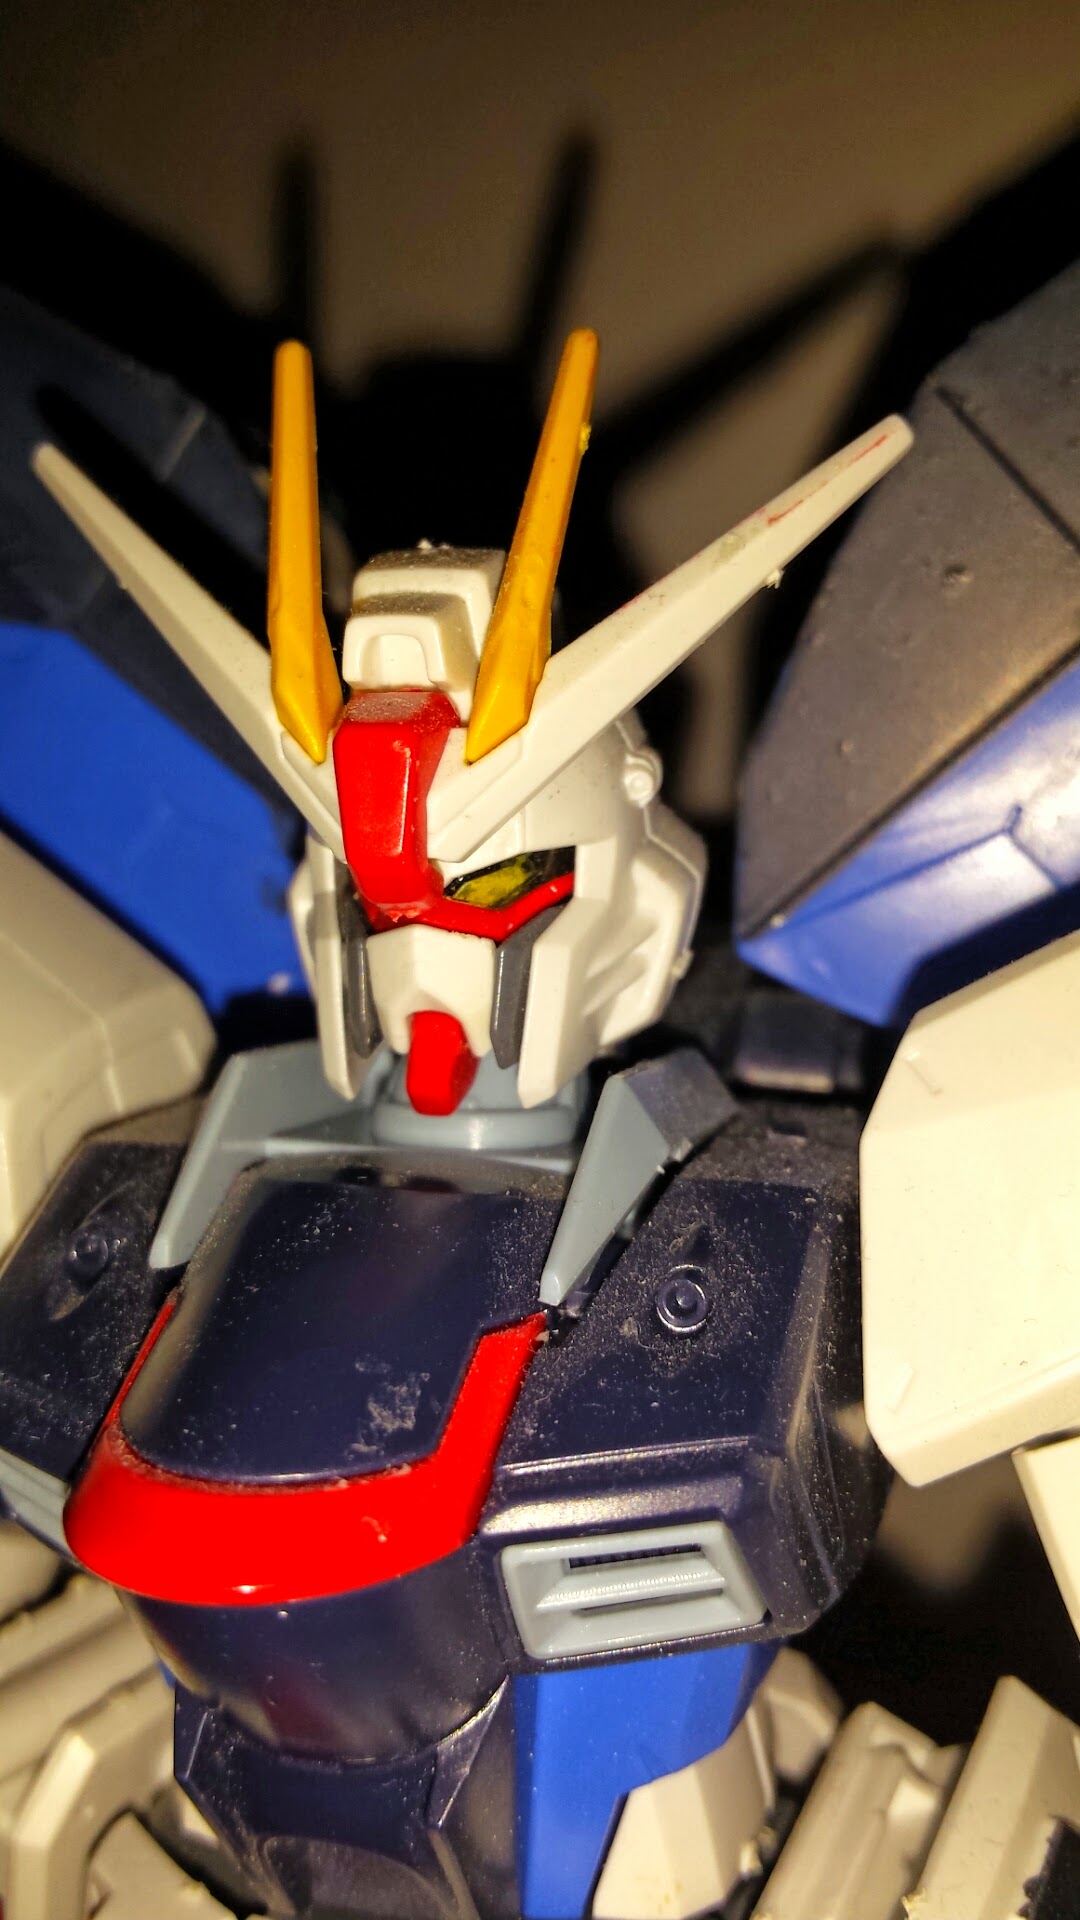
One: Any metallic pieces should not be submitted to a matte spraying. If you do it results in splatter. You can’t really tell from the photo but the helmet crest looks like a windshield that hit a lot of bugs on a hot summer day. Not a good effect unless I was going for weather, but even then, no.

Two: Really need to work on painting. The line drawing aside, the parts I did give a little bit of black paint to look poor. I think its that I have to work on making sure my brush strokes are more even and that I’m not clumping my paint as I brush.

Third: Acetone Nail Polish remover is a last step move and should be treated as such. As I was painting the chest part black, a little of it went too far and I tried to use a Q-tip with Nail Polish remover on it to get it off. A very noticeable mark appeared on the painted plastic. Had I not already determined that this model was a practice piece I would have been very frustrated with myself.

Wasn’t half bad of a build, especially for a figure that I originally had planned to sell because I didn’t want him. I do need work on my details skills. Of course this is why I’m writing this up at all. To evaluate my work and make sure that I am doing all that I can to ensure that I making the best Gundam models possible.

Personal rating: C (and I’m probably being generous)

My gunpla: My past messes

This is going to be an extra feature on this blog. I’m going to try and put it on a separate day from the reviews to make it special. These will only come once in a while though as they take a big longer than my reviews to get through. Still, I feel these are perfect to place here on the blog.

I’m a big fan of the Gundam franchise. I know I haven’t been posting any reviews of this series yet, but trust me they are coming. I actually have something special planned. And as any true fan of Gundam, I found myself getting into Gunpla (the name for the plastic Models associated with the series). Originally I thought I had put this aspect of the fandom away for a while and hadn’t built a model in many years. Then I saw Gundam Build Fighters and it made me remember the fun of working with Gundam Models. I am now back in gear, planning and obtaining new projects to work on.

Still, before I get anywhere and making any new pieces I have decided that I would showcase the efforts of my past. See back in the day there was no one to show me the proper way to build any of these creations and all the instructions were in Japanese (thanks for that one Bandai). To this end I usually just broke off the pieces from the plastic runners and put the pieces together. As you can see from the pictures, my work wasn’t exactly display case worthy.

To best showcase my point, I would to display pictures of one of my own creations. To that end I give you my build of the ZGMF-X10A Freedom Gundam from Mobile Suit Gundam Seed:

20150508_224108The work isn’t terrible but once you get up close and really look it it the defects really stand out. I didn’t even give the suit a matte coating, which I know now really helps to make the suit look so much better.

20150508_22431920150508_224339As get up close there is a lot of minor errors that add up to making the entire thing look like crap over all. Bits of plastic left over from removing the piece from the plastic runners (which other internet sites seem to call nubs but I personally refer to them as BURS). Pieces not fully pushed together resulting in a the suit looking as if it were about to slit open. That’s before going to the paint job.

20150508_225235 20150508_225332

The paint on the eyes is not nearly as bad the detail work that was done on the rifle. I’ll definitely have to work on that. Still both of them are not really worth showcasing with pride, especially now that I know different tips and tricks to make the work better such as shading and line drawing.

It was only after watching Gundam Build Fighters that I actually took the time to look at the other model work that could be done and the different steps and techniques that a person could use. That is why I’m using the Freedom here as a mile marker to show where I am now and how I will improve as I keep working with my craft of Gunpla making. Also, there is the small problem that my other models were not properly stored during my last major move and they currently not in the best of condition. Still, gives me a lot of spare parts to experiment with on a road to greatness. Or least a less suck showing then this.